Gimp – picture resize tutorial
Gimp – picture resize tutorial
Ok time for another tutorial, this time how to resize an image in the gimp image editor.
OS : Xubuntu 14.04
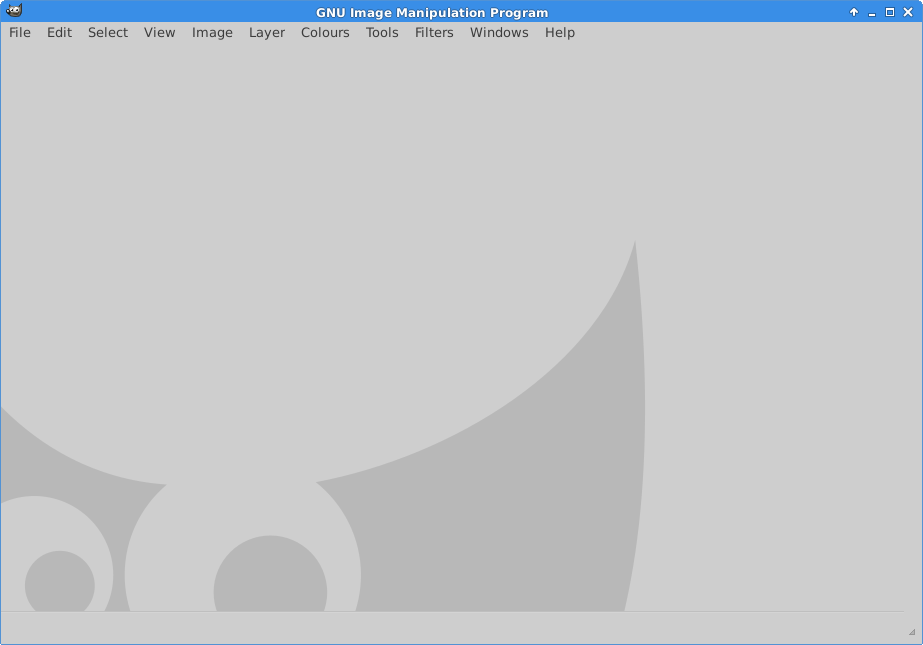
Upon opening gimp you get a few windows open on the screen.
We only need to worry about the main window for the purpose of this tutorial.
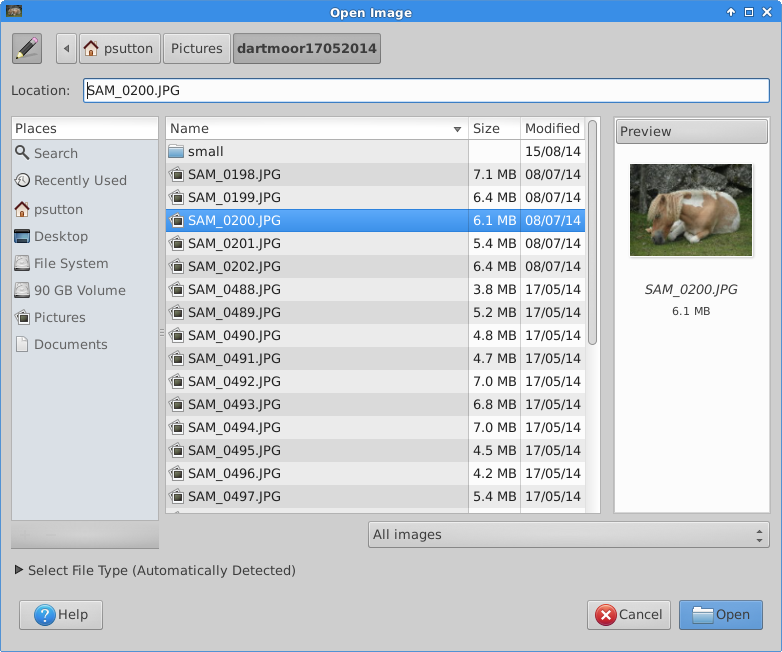
Click file then open to locate and open a picture you want to resize
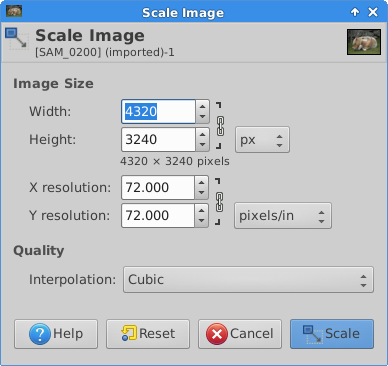
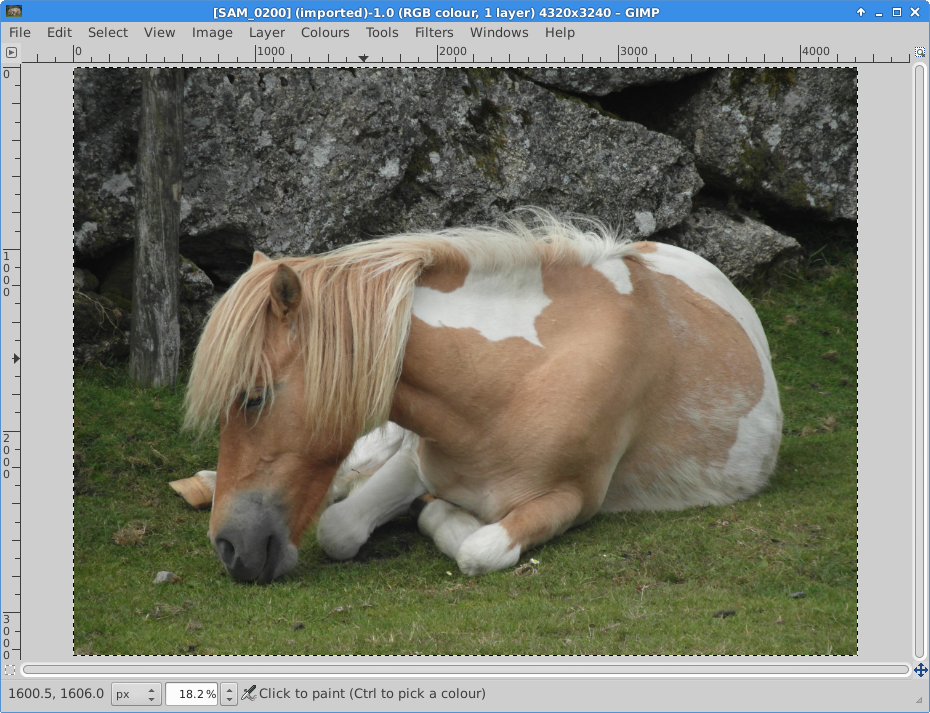
 Once done you will see the picture in the main window click image menu then choose scale:
Editing the width will also edit the hight, so you can maintain the aspect ration (w:h) of the image, this is done automatically once you are happy then hit scale. if you want the image 1/2 then just divide the width by 2.
You can then save, either give it a new file name or you can overwrite the image file name. If you save and overwrite the file name, When you exit you don’t need to save as the default xcf (I think) gimp file format.
That is it really.


